
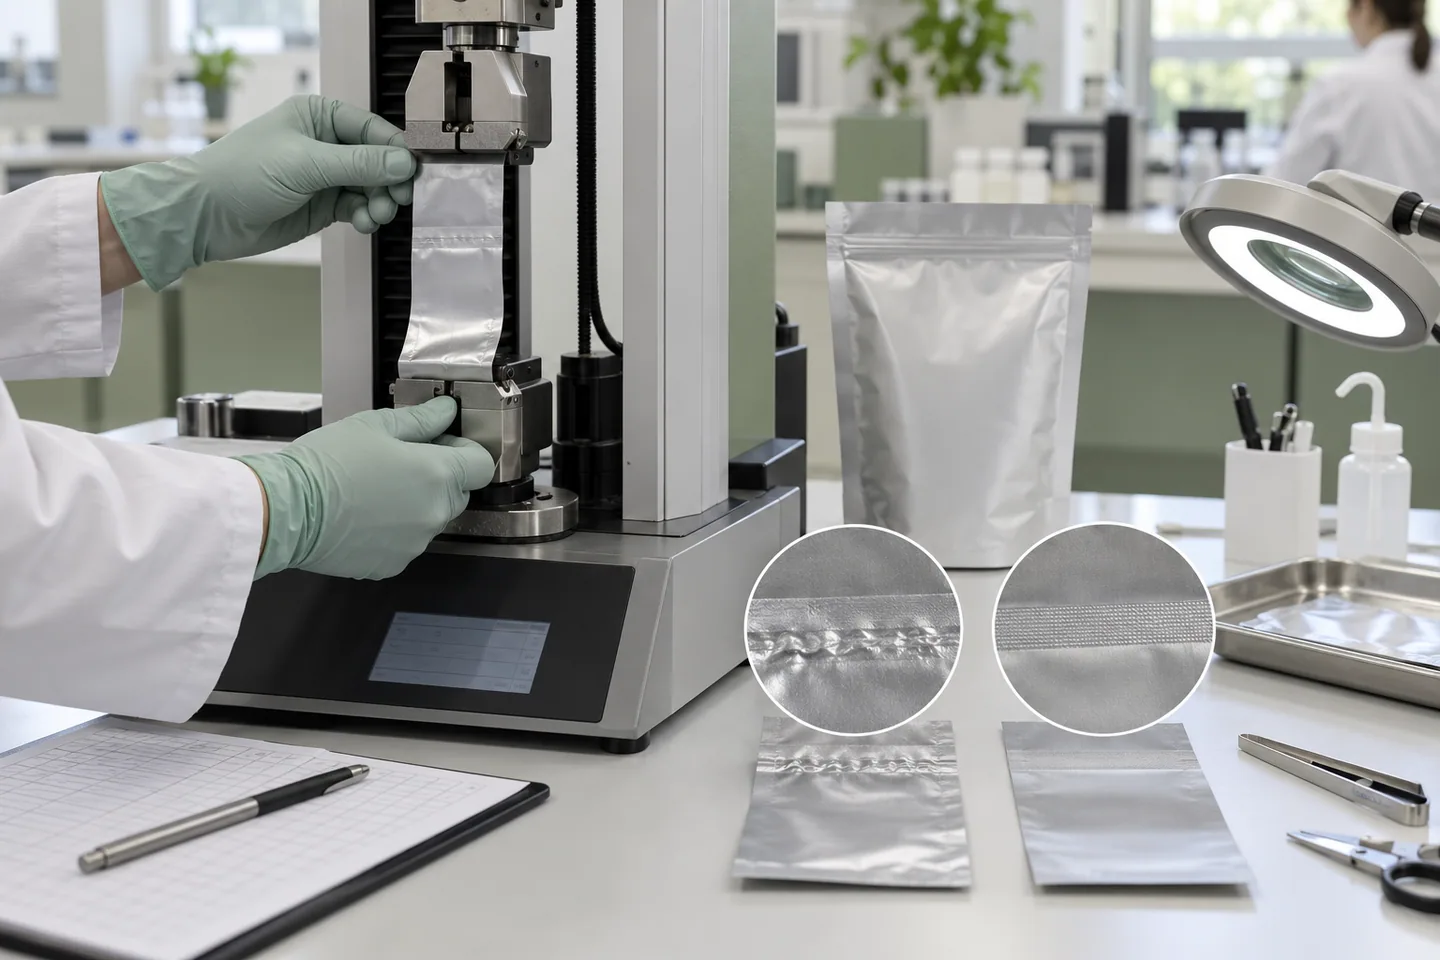
Flexible-package seals usually fail because the material, seal area, machine settings and real product conditions do not work together. Common causes include product contamination in the seal, insufficient or excessive heat, pressure or dwell time, wrinkles, damaged sealant layers, channel leaks, incompatible materials and stress during filling or distribution. The visible leak is the result; the root cause may have occurred earlier in film production, pouch converting, filling or transport.
A useful investigation preserves failed packs, records when and where the failure occurred, compares them with controls and changes one variable at a time. Seal strength, leak detection and distribution tests answer different questions, so no single result should be treated as complete proof.
First Distinguish the Failure Mode
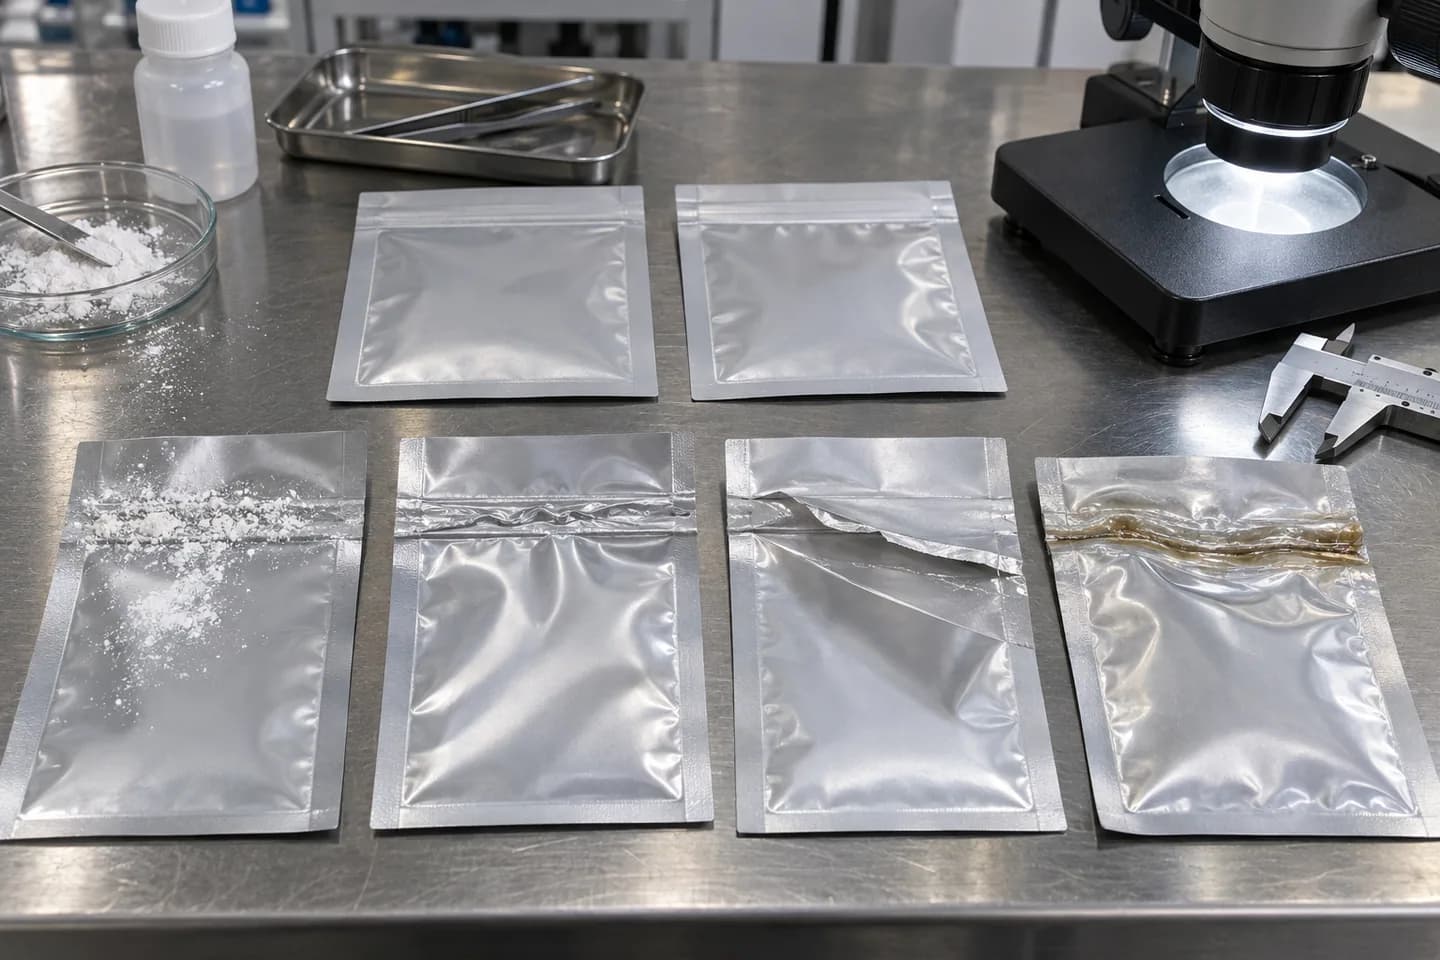
Before changing temperature, describe the defect precisely:
- Peel or weak seal: the sealed faces separate with low force.
- Channel leak: a narrow unsealed path crosses the seal, often caused by a wrinkle or contaminant.
- Seal-through contamination: powder, oil, moisture or product particles interrupt bonding.
- Burn-through or distortion: excessive energy damages or thins the film.
- Delamination near the seal: laminate layers separate under heat or stress.
- Flex crack or puncture: the leak is near the seal but originates from handling damage.
- Fitment leak: failure occurs around a zipper flange, valve or spout weld.
- Creep or hot-tack failure: the seal opens while still warm or under sustained load.
Mark the failure location, orientation and production time. Keep photographs of the entire package and close-ups. An isolated edge cut should not be diagnosed as a heat-seal problem without evidence.
Why Sealant Compatibility Matters
The inner layer must seal to itself or to the intended fitment under the chosen process. PE, CPP and other sealant systems have different seal-initiation behavior, hot tack, contamination tolerance and temperature range. A structure recommended for one product or machine may not transfer directly to another.
Ink, coating, adhesive or treatment in the seal lane can reduce performance. Confirm that printing and varnish respect the no-print area and that lamination is adequately cured before converting or filling. If a material substitution occurs, repeat the sealing window and filled-package checks.
The Heat-Seal Window
A robust process has a window—not one perfect temperature. Evaluate temperature, pressure and dwell time across a practical range while holding other variables stable. Record actual jaw temperature where possible rather than relying only on a controller setting.
At low energy, the seal may not develop. As energy increases, strength typically improves until a useful range is reached. Beyond that range, distortion, thinning, sticking or laminate damage may occur. Production speed, jaw cleanliness, coating, ambient conditions and film gauge can shift the window.
Pressure and jaw alignment
Uneven pressure can create strong and weak zones across the same seal. Inspect jaw parallelism, pad condition and contamination. Patterned jaws can help in some applications but are not a substitute for compatible material and controlled settings.
Dwell time and line speed
A laboratory sealer may produce an acceptable result with a long dwell that the production line cannot match. Validation should use conditions representative of the actual filler or sealing machine.
Product Contamination in the Seal Area
Powders, crumbs, oils and liquids can interrupt contact between sealant layers. Prevention may involve product control, dust extraction, fill-nozzle position, pouch opening, vibration, wiping, wider seal lanes or a sealant selected for the expected contamination. Do not assume more heat will solve contamination; it can damage the package while leaving a leak channel.
Observe the filling process in slow motion or sample packs immediately after filling. Map contamination to nozzle timing, product bounce, static or pouch movement. The packaging and filling teams need to solve this together.
Wrinkles, Folds and Pouch Geometry
Wrinkles create paths where the seal faces do not meet evenly. Causes include pouch skew, overfill, gusset misalignment, zipper bulk, poor web tracking or trapped air. A bag can pass flat-pouch inspection but wrinkle on the customer’s filling line.
Check grip position, opening method, product drop, settling and top-seal clearance. For a premade pouch, measure feature placement and dimensional variation. For rollstock, review forming collar, tracking and tension.
Zippers, Valves and Spouts Create Additional Interfaces
A zipper adds flange transitions and multiple film thicknesses. A valve creates a cut or attachment point in the panel. A spout requires a reliable weld between fitment and film plus a cap interface. Inspect these as systems.
For spout pouches, distinguish body-seal leakage, fitment-weld leakage and cap leakage. Product viscosity, particles, filling temperature and cap application can change performance. Use samples from different positions and production times rather than testing only an ideal setup piece.
Tests and What They Tell You
Visual and dimensional inspection
Look for continuity, wrinkles, channels, burns, folds and contamination. Measure seal width and feature position against the specification. Visual inspection is fast but cannot prove hidden integrity.
Seal-strength testing
A strip is pulled under defined conditions to quantify peel behavior. The method should state orientation, strip width, conditioning, speed and failure mode. Compare results only when conditions are consistent. Strength alone may miss a narrow channel leak.
Leak detection
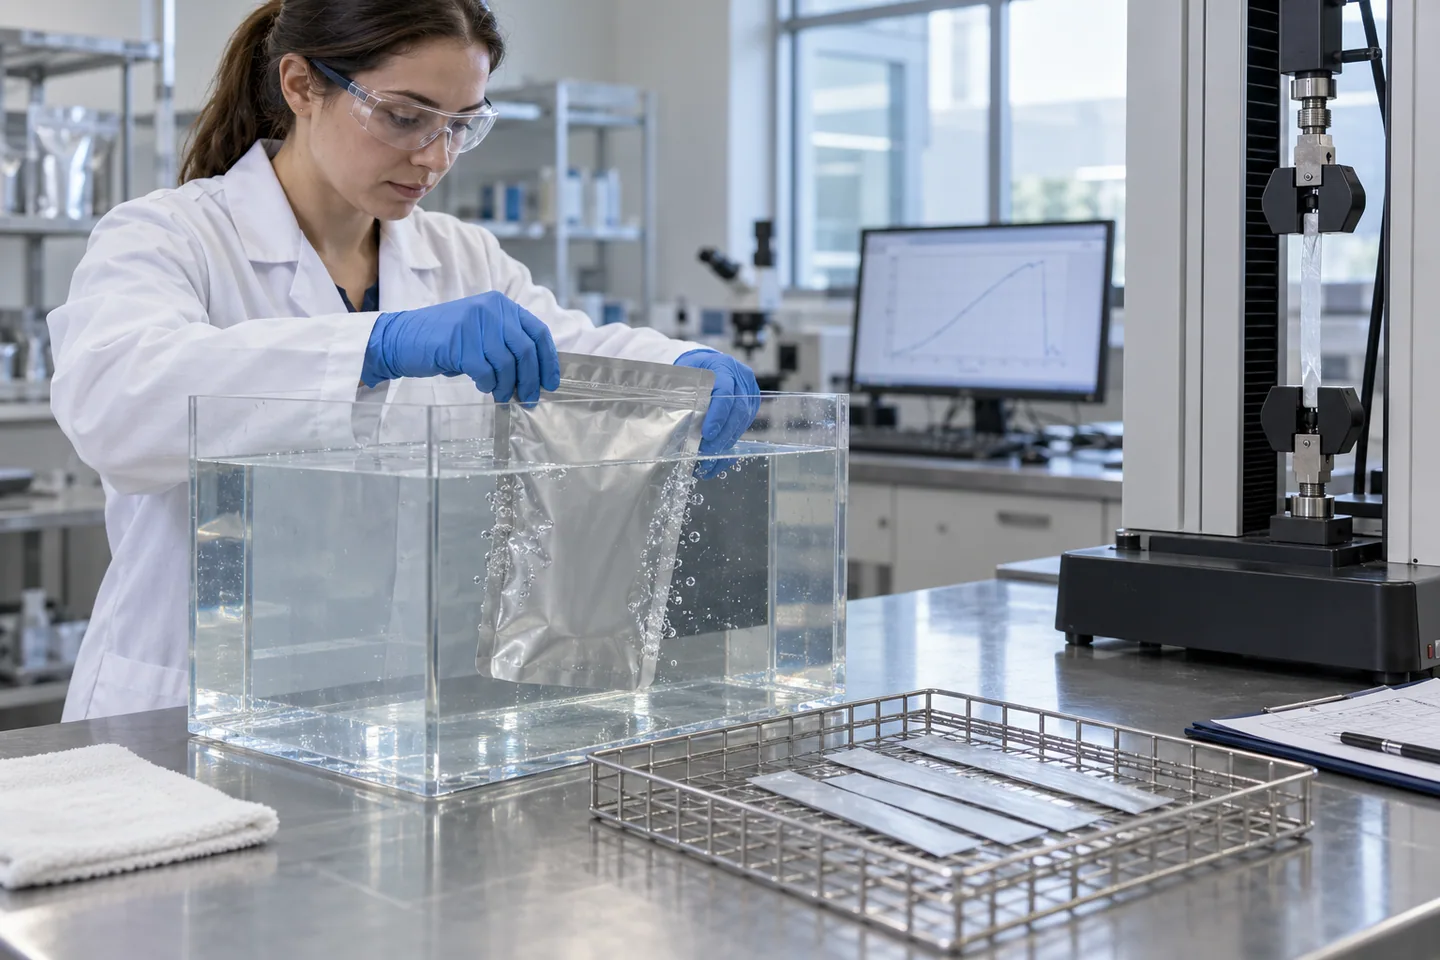
Bubble-emission, vacuum, pressure-decay, dye or other methods can reveal different defect types. Select a method suited to package format, product and required sensitivity. Some methods are destructive; others need specialized fixtures.
Burst and creep testing
Internal pressure can help assess overall seal-system behavior. Burst identifies peak failure behavior, while creep can examine sustained pressure over time. Results depend strongly on package geometry and method.
Distribution simulation and drop testing
Transport introduces vibration, impact, stacking and altitude-related pressure changes. A package that passes a bench seal test can still fail in a filled distribution test. Use the intended secondary packaging and a representative product or validated substitute.
Shelf-life and compatibility work
Long-term integrity includes seal stability, product interaction and barrier performance. Packaging cannot guarantee shelf life without product-package studies under relevant storage conditions.
A Structured Root-Cause Workflow
- Contain the issue. Identify affected lots, equipment, time range and shipment status.
- Preserve evidence. Keep unopened failures, controls, film or pouch samples and machine records.
- Describe the defect. Map exact location, appearance and failure conditions.
- Review changes. Material lot, adhesive cure, zipper, operator, jaw, settings, speed, product and environment.
- Reproduce the failure. Use controlled trials with representative pouches and product.
- Measure relevant variables. Do not change temperature, pressure and dwell simultaneously.
- Confirm corrective action. Repeat tests across the expected operating window.
- Verify production and shipment. Increase sampling temporarily and review filled packs after handling.
Factory Controls Before Shipment
The pouch converter can check dimensions, seal appearance, sample seal strength, zipper or fitment placement and agreed integrity items. Retained samples and lot identification support later investigation. Shipment inspection should compare the order with the approved specification and packing plan.
However, empty-pouch checks cannot fully reproduce the buyer’s product, filler and distribution. Define responsibilities: converter controls, filling-line validation, product compatibility, storage study and logistics testing.
Information to Send When Reporting a Leak
- Order, lot and carton information
- Pouch size, material and relevant component details
- Photographs of the complete pack and failure
- Product, fill weight and filling temperature
- Sealing equipment and settings
- Time between filling and failure
- Storage and transport history
- Failure rate and sampling method
- Whether the leak occurs before or after distribution
- Available retained good and failed samples
This information is more useful than a message saying “bags leak.” It helps the supplier separate material, converting, filling and distribution hypotheses.
Review FULL PACKING’s quality approach and custom packaging process for related checkpoints.
How to Read Seal-Test Data Without Drawing the Wrong Conclusion
Average values can hide localized failures. Review the minimum, maximum, spread and failure mode, and connect each strip to its position on the pouch. A high average with one zero-strength channel may still represent an unacceptable leak risk. Conversely, a lower peel value can be intentional for an easy-open feature if integrity remains controlled.
Trend data across time is often more useful than one pass/fail result. Plot samples by machine lane, jaw position, operator shift, material lot and production speed. A gradual drift can indicate jaw contamination, temperature instability or film variation. A repeating left-edge defect suggests a different hypothesis from randomly distributed contamination.
When comparing laboratories or suppliers, normalize the method. Strip width, pull direction, conditioning, test speed and whether the seal is peeled at 90 or 180 degrees can change results. Record cohesive tearing, interfacial peel, film stretch and delamination rather than reporting force alone.
Corrective Action Should Address Cause, Not Symptom
A corrective-action report should describe the problem, immediate containment, verified root cause, correction, preventive control and evidence of effectiveness. “Operator retrained” is weak if the process allowed an unclean seal lane without detection. Stronger controls may include a nozzle change, jaw maintenance interval, documented setup window, camera inspection, revised sampling or material change control.
Ask how affected inventory was identified and whether the same cause could affect another SKU. For an overseas shipment, agree the evidence needed before release: increased sampling, filled-pack test, third-party inspection or replacement. Keep communication factual; premature blame can delay the technical investigation.
Commissioning Checklist for a New Pouch or Filling Line
Before the first commercial run:
- Confirm material, dimensions and feature positions against the approved drawing.
- Establish the sealing window at planned production speed.
- Challenge low, nominal and high product-fill conditions.
- Test likely contamination and wrinkle scenarios.
- Verify date coding does not damage or contaminate the seal.
- Inspect immediately after sealing and after cooling.
- Perform relevant integrity, handling and distribution checks.
- Define startup, in-process and end-of-run sampling.
- Train operators to identify the actual failure modes.
- Retain approved settings, good samples and known-defect examples.
This installation preparation turns a sample approval into a repeatable production process. Repeat the review when product, material, speed, equipment or environmental conditions change materially.
Why Seal Failures Become Commercial Problems
The cost is larger than the leaking pouch. It can include product loss, line stoppage, rework, expedited replacement, freight, retailer complaints and investigation time. Build the inspection plan around consequence and detectability. A low-frequency leak in a high-value or liquid product may justify stronger preventive controls than a defect that is immediately visible during packing.
Frequently Asked Questions
Can I fix a weak pouch seal by increasing temperature?
Sometimes insufficient energy is the cause, but higher temperature can also distort film or narrow the operating window. Check material compatibility, pressure, dwell, contamination and jaw condition systematically.
What is the difference between seal strength and leak testing?
Seal strength measures how a prepared seal strip resists separation under stated conditions. Leak testing looks for loss of package integrity. A seal can have acceptable average strength yet contain a local channel.
Why do bags leak only after shipping?
Vibration, impact, compression, altitude and temperature can reveal damage not visible at packing. Test the filled package with its secondary packaging under representative distribution conditions.
Should every pouch be leak tested?
The inspection plan depends on risk, method, speed and whether testing is destructive. Define sampling and process controls with the quality team rather than assuming one universal frequency.
Who is responsible for seal validation?
Responsibilities are shared. The converter controls the agreed pouch; the packer controls filling and final sealing; the brand owner confirms product compatibility and intended-use performance. Document boundaries before production.
Conclusion
Seal failures are system failures. Diagnose the exact mode, connect it to material and process variables, use the correct tests and confirm the corrective action under representative filling and distribution conditions.
If you are investigating a current problem, send the pouch specification, filling details, photographs and available samples to FULL PACKING for an initial requirements review.