
Choosing a pouch is not simply a matter of selecting the shape that looks best in a product rendering. The format has to work with the product, filling process, required protection, distribution conditions, consumer use and the brand’s shelf or e-commerce presentation. A pouch that performs well for roasted coffee may be inefficient for frozen food. A structure that works on a manual filling table may not run consistently on an automatic line.
The most useful way to choose is to treat the pouch as a system. First define what the package must do. Then compare formats. Material structure, closures, printing and dimensions should follow that decision rather than replace it.
Quick answer: which pouch type should you choose?
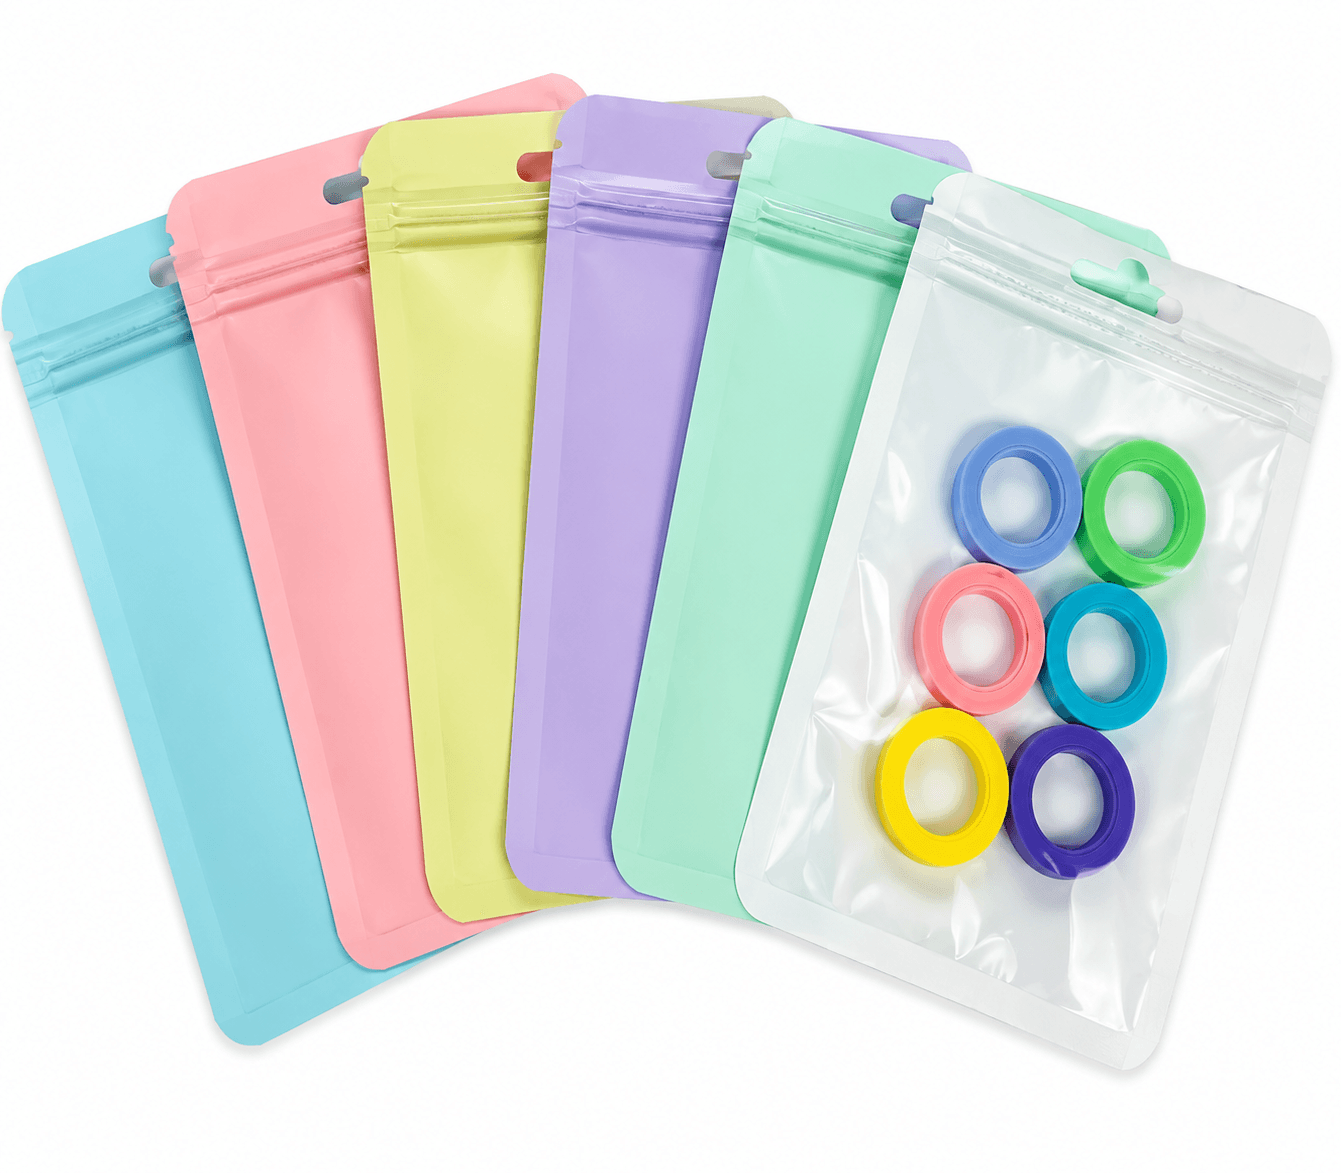
- Choose a stand-up pouch when you need a versatile retail format, a bottom gusset, good front-panel visibility and optional reclosure.
- Choose a flat-bottom bag when shelf stability, a box-like presentation and multiple printable panels are priorities.
- Choose a side-gusset bag when efficient volume, traditional presentation or compatibility with a specific filling route matters more than a broad flat base.
- Choose a three-side-seal pouch for portions, samples, powders or flat packs that do not need to stand independently.
- Choose a back-seal bag when the package is intended for compatible form-fill-seal equipment and a central longitudinal seal is acceptable.
- Choose a spout pouch when a compatible liquid, puree, concentrate or refill product needs controlled dispensing.
These are starting points, not universal rules. Final suitability should be confirmed through dimensions, product compatibility, filling trials and representative samples.
Start with the product, not the pouch catalog
Before discussing bag style, prepare a basic product profile. A packaging supplier needs more than the product name. “Snack food,” for example, could mean a light, fragile crisp; an oily nut mix; a dense dried fruit; or a sharp-edged dehydrated product. Each creates different demands.
Record the product’s physical form, target fill weight or volume, oil or moisture sensitivity, aroma, particle shape, storage temperature and expected shelf life. For liquids, include viscosity, acidity where relevant, hot- or cold-fill conditions and whether the product can interact with the sealant layer. For dry products, note whether texture depends on moisture control and whether particles can contaminate the seal area.
During a factory specification review, this product information helps the team decide what must be validated. The aim is not to assign one material to an entire product category. It is to identify the risks that the package must manage.
The six decisions that determine the right pouch format
1. Product protection requirements
The pouch format and material structure solve different parts of the problem. Format controls geometry, opening, filling and display. The laminate controls properties such as moisture, oxygen, aroma or light protection. Seals and closures affect package integrity after filling and, where applicable, after opening.
A fragile snack may need enough internal volume to reduce crushing. Coffee may require aroma and oxygen management and, depending on the product, a degassing valve. Frozen products may require toughness under low-temperature handling. Pet treats may place puncture and zipper-strength demands on the package. Liquids require closer review of seal paths and fitment attachment.
Do not assume that a visually “premium” format automatically provides a higher barrier. Ask for the proposed material structure, its intended use and the test or supplier data used to support the recommendation.
2. Filling method and equipment
How the pouch is filled can eliminate otherwise attractive options. Confirm whether filling is manual, semi-automatic, performed by a co-packer or integrated into an automatic line. The equipment supplier or co-packer should review the intended pouch dimensions, opening, film behavior, zipper location, seal area and registration requirements.
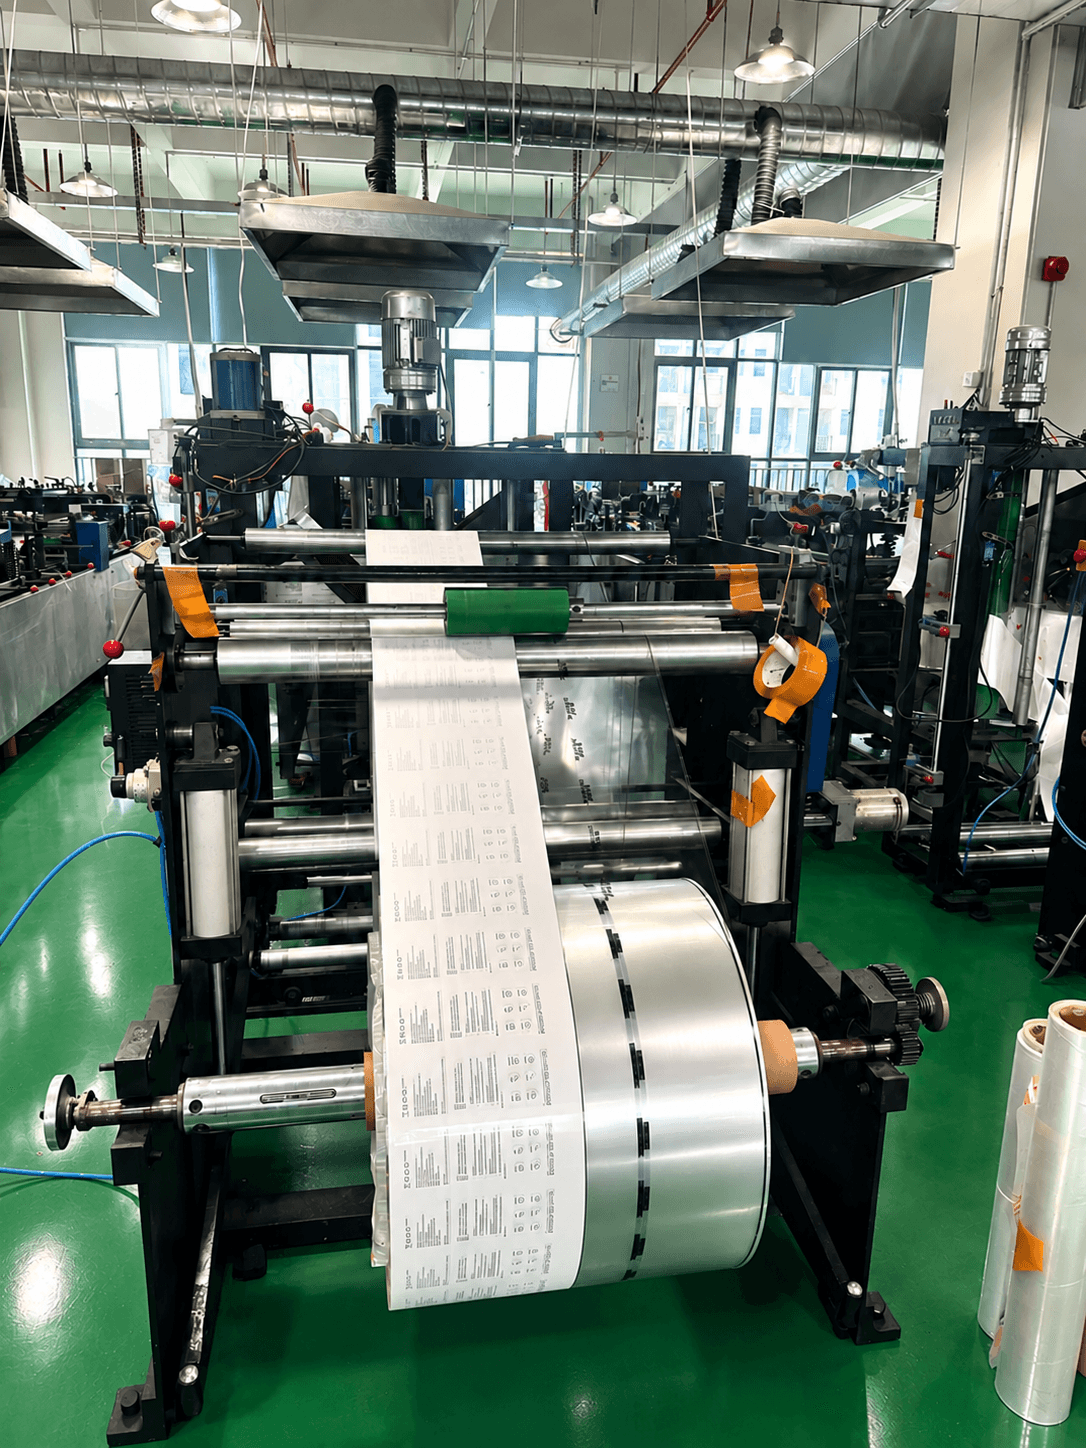
For pre-made pouches, the opening width must support product flow and filling tools. The zipper, tear notch and hanging hole cannot interfere with gripping or sealing zones. For form-fill-seal production, rollstock width, seal configuration, coefficient of friction, registration marks and machine settings become part of the specification.
Installation preparation matters too. Before production, confirm how the customer will receive, orient, open, fill and close the package. A sample that looks correct on a desk may behave differently under production speed, dust, oil or temperature.
3. Required capacity and dimensions
Fill weight alone does not determine pouch size. Density, product shape, trapped air and the desired headspace all affect volume. Two products with the same net weight can require very different dimensions.
The safest process is to test the actual product in a representative pouch. Check the fill level, top-seal clearance, zipper usability, stability and carton packing. For a stand-up or flat-bottom format, observe the pack after filling, not only when empty. Gussets must open correctly, and the finished package should not become too narrow, unstable or over-tensioned.
Shipping inspection should also include the secondary carton. An attractive package that wastes carton volume can increase logistics cost or experience more abrasion in transit. Record the number of filled units per carton and the orientation used during shipment.
4. Shelf presentation and sales channel
Retail shelves, club stores, food-service channels and direct-to-consumer shipping create different priorities. A stand-up pouch provides a strong front-facing panel and can suit many light-to-medium retail products. A flat-bottom bag can create a structured appearance and adds side and bottom panels for artwork. A side-gusset bag can provide efficient capacity and a familiar profile. A flat three-side-seal pouch may be sufficient when the product is displayed in a box, hung from a peg or shipped as a sample.
For e-commerce, evaluate more than the hero photograph. Consider dimensional weight, abrasion, leakage risk, tamper evidence and how the pack appears after parcel handling. If most sales occur online, paying for an elaborate shelf footprint may be less important than optimizing shipping and consumer use.
5. Consumer opening, dispensing and reclosure
Map the complete use sequence: how the consumer opens the pack, removes or dispenses the product, stores the remainder and disposes of the package. A zipper can improve convenience for multi-use dry products, but it needs enough headspace and an accessible opening. A tear notch should start a controlled tear without compromising the closure area. A spout must be sized for product viscosity and serving behavior, and the cap system should match the intended user and market requirements.
Features add cost and manufacturing considerations, so include them because they solve a defined need. Do not add a zipper, valve, window or spout only because competitors use one.
6. Order quantity, artwork and production route
The chosen print method, number of designs, dimensions and finish can affect economic order quantity and setup. A buyer comparing formats should request quotes using the same quantity, artwork count, material assumptions and delivery terms. Otherwise, unit-price comparisons can be misleading.
If a launch includes several flavors, tell the supplier whether the designs share the same pouch size and structure. Ask how design changes affect setup, color control, cylinders or plates, and minimum production. Confirm whether the quoted quantity refers to each design, each size or the combined order.
Stand-up pouch: versatile retail presentation
A stand-up pouch typically uses a bottom gusset that expands after filling. It is widely considered because it combines front-and-back printing space with shelf display and optional features such as a zipper, window, tear notch or valve.
It is a useful starting point for snacks, dried fruit, confectionery, powders, supplements and many pet products, subject to product-specific review. It can also be configured with a spout for compatible liquids.
Potential limitations include reduced stability when dimensions are poorly matched to the fill, inefficient use of space for very dense products, and extra material or converting cost compared with a simple flat pouch. Test the filled pack rather than relying on an empty sample.
Flat-bottom bag: structured shape and multiple panels
A flat-bottom bag combines a defined base with side gussets, producing a box-like format with multiple printable surfaces. It is often considered for coffee, premium snacks, grains, pet treats and other products where a structured shelf presence supports the brand.
The format can provide good stability and efficient internal volume, but construction is more complex than a basic flat pouch. Confirm how the base, side panels, zipper and top seal behave at the intended fill. Artwork preparation also requires careful panel mapping so important elements do not cross folds or seals.
Choose it when the structure creates measurable value in display, capacity or brand communication—not merely because it appears premium in a mockup.
Side-gusset bag: volume and a familiar profile
Side-gusset bags expand along the sides as they are filled. They can suit coffee, powders, grains and larger-volume dry products, depending on the closure and filling method. The format may use a fold-over top, seal, valve or other compatible feature.
The filled package may form its display base through the product and gussets rather than a separately constructed flat bottom. Shelf stability therefore depends on dimensions, product density and packing method. Ask for a filled prototype and check front-panel distortion, seal accessibility and carton efficiency.
Three-side-seal pouch: efficient flat packaging
A three-side-seal pouch is sealed on the left, right and bottom, leaving the top open for filling and final sealing. It does not have a self-standing bottom. This simple geometry can work well for portions, samples, powders, frozen items, accessories and products displayed in an outer carton or by a hang hole.
Its advantages are a clean flat structure, efficient storage before filling and straightforward panel use. It may not deliver the same shelf presence as a stand-up format, and large or bulky fills can distort the pack. Confirm opening width, seal margins and tear behavior.
Back-seal bag: designed around compatible packing equipment
Back-seal bags use a longitudinal seal, usually on the rear centerline, plus top and bottom seals. They are common in automated packaging contexts where rollstock is formed around the product. The exact structure and seam type depend on the machine and application.
This format should be selected with the equipment and film converter involved. Machine trials may be necessary to confirm tracking, sealing temperature window, registration and pack appearance. It is not simply a visual alternative to a pre-made pouch.
Spout pouch: controlled dispensing for compatible liquids
A spout pouch combines a flexible body with a fitment and cap. It can reduce package weight and support refills or controlled pouring, but the fitment, sealant layer and product must work together.
Provide viscosity, fill temperature, product chemistry, intended serving behavior and transport conditions. Factory testing may include fitment-weld review, seal inspection and leakage checks using an agreed method. A successful sample should be evaluated after filling and handling, not only before use.
A practical comparison table
| Format | Main reason to consider it | Key item to validate |
|---|---|---|
| Stand-up pouch | Versatile shelf display and optional reclosure | Filled stability and gusset opening |
| Flat-bottom bag | Structured presentation and multiple panels | Base formation, folds and artwork mapping |
| Side-gusset bag | Efficient volume and familiar profile | Stability, top closure and front distortion |
| Three-side-seal pouch | Simple flat pack for portions or samples | Opening width and final seal area |
| Back-seal bag | Compatibility with suitable automated packing | Film and machine trial conditions |
| Spout pouch | Controlled dispensing for liquids or refills | Product compatibility, fitment weld and leakage |
What to send a pouch manufacturer for an accurate recommendation
Prepare a short project brief containing:
- Product name and physical description.
- Net fill weight or volume and product density if known.
- Target dimensions or an existing package sample.
- Filling method, equipment model and fill temperature where relevant.
- Required shelf life and storage conditions.
- Desired pouch type, closure, valve, spout, window or tear feature.
- Number of artwork designs and print finish.
- Estimated order quantity per size and design.
- Destination country and delivery timing.
- Food-contact, testing or documentation requirements for the intended market and use.
This information allows the supplier to identify missing questions early. It also makes quotations easier to compare because every supplier is evaluating the same project.
Factory and shipment checks before approval
A practical approval process can include an unprinted size sample, printed color reference, artwork proof, material specification and agreed inspection points. For new or demanding applications, conduct a product fill test under representative conditions.
Before shipment, inspection can verify dimensions, visible print quality, seals, features, quantity and packing identification against the approved specification. The test method, sampling plan and acceptance criteria should be agreed rather than assumed. Packaging performance during distribution depends on the filled product, secondary carton and route, so transport testing may be appropriate for higher-risk projects.
Frequently asked questions
Is a flat-bottom pouch always better than a stand-up pouch?
No. A flat-bottom pouch can provide a more structured shape and additional print panels, while a stand-up pouch may be simpler and more versatile. The better option depends on product volume, display needs, filling, features and cost.
Can the same pouch material be used for every food product?
No. Barrier, sealant and food-contact suitability depend on the product, storage, filling and intended market. The final material should be reviewed for the specific conditions of use.
How do I determine the correct pouch size?
Start with target fill weight or volume, product density and required headspace. Then fill a representative sample and check closure, sealing, stability and carton packing. A dimension selected only from a competitor’s pack may not fit your process.
Should I choose a zipper for a single-use product?
Usually only if it solves a real use requirement. For a single-use portion, a zipper may add unnecessary cost and consume sealing space. Evaluate the consumer opening and storage sequence first.
When is a spout pouch suitable?
It can suit compatible liquids, purees, concentrates and refill products when controlled dispensing is needed. Suitability depends on product chemistry, viscosity, filling conditions, fitment selection and seal validation.
Do I need a machine trial?
If the package will run on automated filling or form-fill-seal equipment, a trial is often prudent. Coordinate specifications with the equipment operator before committing to production volume.
Conclusion
The right flexible packaging pouch is the one that performs through filling, shipping, display and consumer use—not the one that looks best in isolation. Define product risks, confirm the filling route, test realistic dimensions and evaluate the finished package. Then select materials, features and artwork around that approved format.