
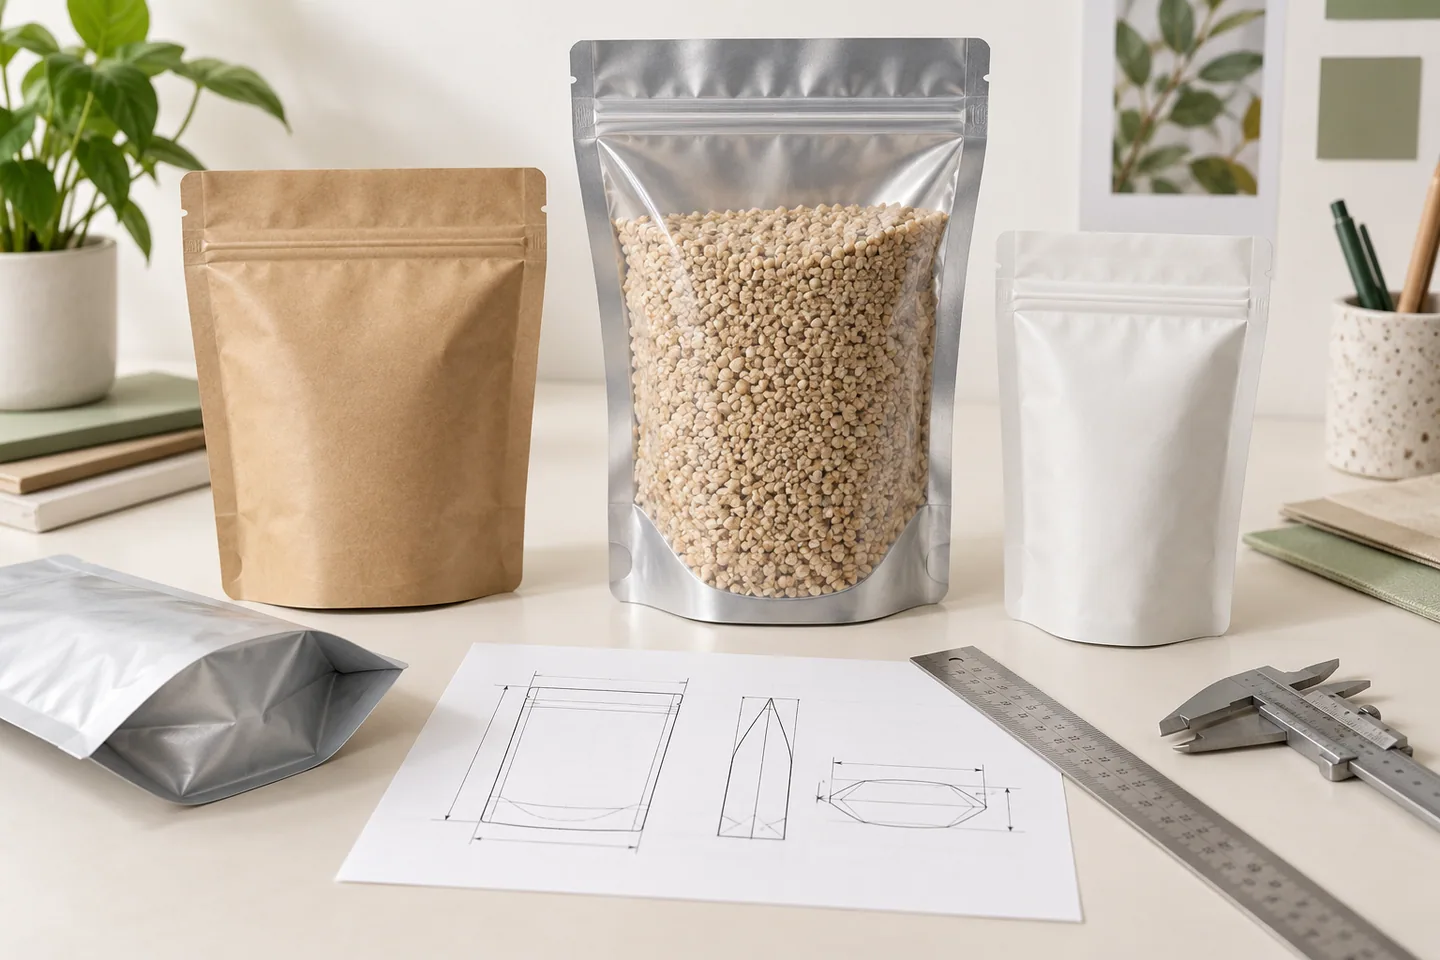
A stand-up pouch should be sized from the actual product and filling process, not from net weight alone. Width, height and bottom gusset create usable volume together, while product density, particle shape, headspace, zipper position and final top seal determine how much of that volume can be used. Two products with the same weight can require very different pouches.
The safest sizing method is to begin with a comparable pouch, fill physical prototypes with the real product, record the filled shape and sealing clearance, then revise the drawing before artwork and production. Capacity charts and supplier estimates are useful starting points, not final proof.
What Do Stand-Up Pouch Dimensions Mean?
Suppliers commonly state dimensions as width × height × bottom gusset, usually in millimetres. However, gusset notation is not always consistent. A value may refer to the total opened gusset, the depth on one side of the fold, or a drawing convention used by that converter. Never approve size from a text string alone; use a dimensioned drawing.
The drawing should show:
- Finished outside width and height
- Bottom gusset geometry and measurement convention
- Top and side seal widths
- Zipper centerline and usable opening
- Tear-notch position
- Hang hole, valve, window or other features
- Final filling and sealing area
- Artwork boundaries, folds and trim tolerance
Why Net Weight Does Not Determine Pouch Size
Net weight tells you how much product is sold, not how much space it occupies. Bulk density is the mass of a product per unit of bulk volume, including spaces between particles. Coffee beans, ground coffee, flour, granola, nuts and pet treats can all behave differently at the same weight.
Product shape also matters. Long snacks or irregular treats may bridge near the opening and trap air. Fine powders settle and can contaminate the seal area. Fragile products may need additional headspace to avoid crushing. A liquid responds to gravity and may require a different pouch and sealing route altogether.
Measure with representative product
Use product from normal production, not an unusually compact laboratory sample. Record the mass, settled volume and how the product changes after vibration or transport. If particle size or density varies by flavor, identify the worst case rather than sizing only the densest SKU.

The Role of Width
Width affects front-panel area, filling access and the pouch’s filled profile. A wider pouch may be easier to fill manually and offers more horizontal artwork space, but it can appear squat and may use more shelf frontage. A narrow pouch can look tall and efficient but may restrict the filling funnel or scoop.
Check the opening after accounting for side seals and zipper attachment. The nominal outside width is not the same as clear filling access. If automated equipment grips the pouch, confirm the required rail, clamp or vacuum-cup areas.
The Role of Height
Height must accommodate product, headspace, zipper, tear notch and final top seal. The usable fill height is smaller than the outside dimension. A common error is to fit the product into the body and discover that no clean area remains above it for sealing.
Reserve space for:
- Product variation and settling
- Zipper track and zipper flange
- Consumer opening above or below the zipper
- Tear notch
- Heat-seal jaw contact
- Date coding or batch marks if placed near the top
Too much height can create an empty-looking pack and inefficient case packing. Too little height can produce contamination, wrinkles or trapped product in the final seal.
The Role of the Bottom Gusset
The bottom gusset opens to create depth and a standing base. A deeper gusset can add volume and shelf stability, but only when width, material stiffness, product distribution and seal geometry work together. An excessively deep gusset may fold poorly or create an unattractive filled shape.
Observe how the gusset opens with the actual product. Lightweight pieces may not push the base fully open. Dense products may create a stable footprint but place greater stress on bottom seals. A filled prototype is more informative than an empty pouch measurement.
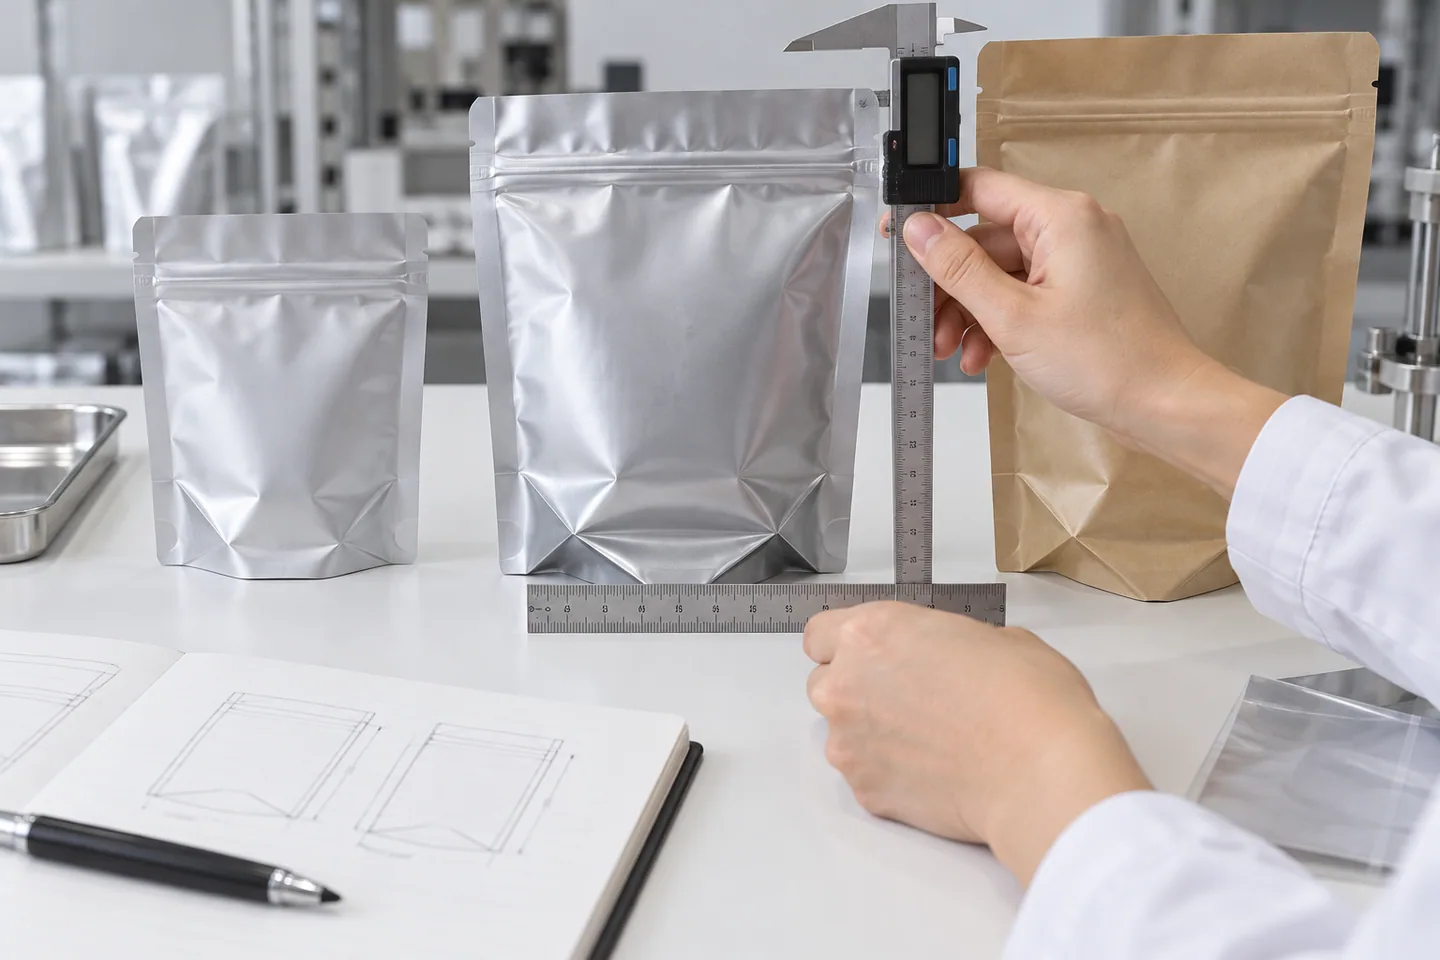
Headspace Is a Functional Requirement
Headspace is the unfilled area that supports filling, sealing and product movement. It is not simply wasted volume. The appropriate amount depends on the product and process.
Powders may create dust that requires a longer clean seal lane or dust-control equipment. Fragile snacks may need cushioning space. Coffee beans may settle after filling. A zipper pouch needs enough clearance for the customer to open and reclose the track without product interfering.
Document the target fill line and the minimum clean top-seal area on the drawing or work instruction. During trials, photograph the pouch before and after settling.
How Zippers and Other Features Change Usable Space
A zipper occupies vertical space and can reduce the clear opening. Its flange must be sealed into the pouch without distorting nearby layers. A tear notch must guide opening without weakening another feature. A hang hole needs structural area above or around it.
For coffee, a one-way valve requires panel space, clearance from folds and compatibility with the product. For windows, the visible area should not be hidden by product level, gusset folds or labels. Treat every feature as part of the dimension plan, not an item added after artwork.
A Step-by-Step Stand-Up Pouch Sizing Method
Step 1: Define the application
Record product type, target net weight, density range, filling method, shelf-life target, storage, distribution and consumer use. Identify whether the pack must stand before filling, after filling or only on shelf.
Step 2: Review the filling equipment
For manual filling, check scoop or funnel access and operator handling. For automated or semi-automated lines, record maximum and minimum pouch width, grip area, opening method, indexing, fill-drop height, zipper compatibility and top-seal jaw requirements. Installation preparation should include actual pouch trials before final production.
Step 3: Select a starting format
Choose an existing pouch close to the intended dimensions or request unprinted prototypes. If a competitor pack is used as a reference, measure it and explain what should change; do not assume its material or capacity is appropriate.
Step 4: Fill and settle the actual product
Fill several samples to the target weight. Use the intended process where possible. Settle them using a repeatable method that represents normal handling. Record fill height, headspace, stance, front-panel distortion and gusset opening.
Step 5: Simulate final sealing
Close the zipper and create or mark the final top seal. Confirm that the seal area is flat, clean and accessible. If product reaches the seal lane, do not simply compress the pouch; adjust dimensions or filling control.
Step 6: Check shelf and case fit
Measure the filled width, height and depth—not only the empty pouch. Place the pack on the intended shelf and into the planned carton. Review shelf frontage, case count, product protection and transport movement.
Step 7: Revise and repeat
Change one dimension at a time when possible. A small width change can alter gusset opening and height requirement. Keep sample IDs and a fill-trial record so the approved size is traceable.
Example: The Same 250 g Weight in Different Products
Consider three hypothetical products sold at 250 g: ground coffee, whole coffee beans and airy snack pieces. Ground coffee may pack relatively densely but create dust near the seal. Whole beans occupy more volume and may require a valve depending on roast and filling timing. Airy snacks may need still more volume and protective headspace.
The net weight is identical, but width, height, gusset and feature plan can differ. This is why a generic “250 g pouch size” table must be treated as a starting estimate only.
Artwork Must Follow the Approved Filled Geometry
Do not finalize artwork while dimensions are still changing. Once the drawing is approved, map front, back and gusset panels; keep important text away from folds, seals, zipper, tear notches and trim. A large graphic crossing the gusset may look different after filling.
Check the mock-up in three views: flat dieline, empty converted pouch and filled pouch. Barcodes, nutrition panels and legal text need sufficient contrast and a reasonably flat scanning or reading area.
Material and Thickness Affect the Filled Shape
Stiffer laminates may hold a structured profile, while softer films conform more closely to the product. Thickness alone does not predict stiffness or toughness because material type, orientation and laminate design matter. A new material can change the pack’s stance even when dimensions remain the same.
If a recyclable mono-material route or high-barrier laminate is introduced, repeat the fill and handling trial. Do not assume a dimensional approval automatically transfers across structures.
Production Tolerances and Acceptance
Flexible pouches are converted materials, so dimensions and feature positions need realistic tolerances. Ask the manufacturer to state the measurement method and acceptable range. Define critical dimensions based on function: filling-machine grip, zipper height, valve position, top-seal clearance and carton fit may deserve tighter attention than a nonfunctional visual edge.
Shipment inspection should sample pouches across cartons and compare measurements with the approved drawing. Fill a small number from the shipment before releasing the full order to production use.
Common Sizing Mistakes
- Copying a capacity chart without testing product density.
- Treating gusset notation as universal.
- Forgetting zipper and final top-seal clearance.
- Approving an empty pouch without checking its filled stance.
- Measuring only one easy-to-pack SKU.
- Ignoring filling-equipment width and grip requirements.
- Finalizing artwork before sample dimensions are approved.
- Changing material without repeating the fill trial.
- Checking shelf appearance but not carton and transport fit.
Information to Send a Pouch Manufacturer
Provide product name, physical form, target net weight, approximate density if known, filling method, preferred dimensions or reference sample, required features, storage conditions, order quantity and destination. Include photographs of the product and filling equipment if a sample cannot be sent initially.
For a practical starting point, review stand-up pouch options and request packaging samples before approving production artwork.
Converting Product Volume Into a Starting Estimate
When no reference pouch exists, estimate the product’s settled bulk volume from several representative samples. Divide mass by measured bulk density using consistent units, then add a provisional allowance for headspace and process variation. This calculation helps select test pouches; it does not define final dimensions because a gusseted pouch is not a perfect rectangular container.
Document how the product was settled. Tapping a measuring cylinder aggressively can create an unrealistically dense result, while loosely spooning an aerated powder can overstate normal volume. Use a method that resembles filling and distribution, and test the density range across batches.
Multi-SKU Families and Size Standardization
Brands often want several fill weights or flavors to share one pouch size. Standardization can simplify artwork, cartons and procurement, but it may create an underfilled appearance for a lower-density or lower-weight SKU. Build a matrix of weight, density, filled height and required headspace.
If two SKUs share dimensions, confirm that both run on the filling line and meet label net-content and slack-fill considerations in the destination market. The highest-volume product is not necessarily the worst case: fragile or dusty products may drive more space.
Ergonomics and Consumer Use
Sizing affects more than capacity. A very wide pouch may be hard to grip or pour. A tall narrow pouch may tip after part of the product is used. Test opening force, hand access, scoop access, zipper reclosure and controlled pouring with representative users.
For family-size packs, consider whether the bottom remains stable as the product level falls. For single-serve packages, excessive material above the fill can look wasteful. Consumer-use observations should be captured alongside factory fill data.
Shipment and E-Commerce Checks
Measure case count and empty space with filled samples. Pouches can settle or change depth during vibration, altering carton fit. In e-commerce, a single flexible pack may be shipped with rigid items and experience concentrated puncture or compression.
Test the primary pouch and secondary packaging together. Adjust carton, orientation or protective materials before simply increasing pouch thickness. Record filled dimensions after the distribution test to see whether the pack retains an acceptable shelf shape.
Frequently Asked Questions
What is the standard size for a 500 g stand-up pouch?
There is no universal size. Product density, particle shape, headspace, gusset convention, zipper and material all affect dimensions. Fill physical samples with the actual product.
Is a deeper bottom gusset always more stable?
No. Stability depends on width, filled product distribution, gusset opening, material stiffness and bottom-seal geometry. An excessively deep gusset may not open cleanly.
How much space should I leave above a zipper?
Leave enough material for consumer opening, tear notch and the manufacturer’s top-seal process. The required distance depends on zipper and equipment; confirm it on the drawing and trial pouch.
Can I calculate pouch volume from outside dimensions?
Only approximately. Seals, gusset shape, film stiffness and filled geometry reduce usable volume. A physical fill test is the preferred validation.
Should the pouch be tested on the filling line?
Yes when line compatibility matters. Check feeding, opening, filling, contamination control, sealing, coding and discharge with production-representative pouches.
Conclusion
Correct stand-up pouch sizing is an iterative packaging and filling task. Begin with the real product, define process constraints, fill and seal prototypes, review shelf and case fit, then approve a dimensioned drawing. This prevents capacity assumptions from becoming artwork changes or production problems.
Send FULL PACKING your product, target weight, approximate dimensions, filling method and required features to discuss a suitable sample route.